Table of Contents
Managing Admin User Permissions
Estimated Reading Time: 15 Minutes
Required Permissions: UserAdmin
This article will run down all of the permissions that can be set on users in the admin panel, what they do, how to create or delete a user, and updating a user’s password.
You will need to have UserAdmin permission to see the Manage Users Dashboard. Navigate to the site’s admin panel.
Once logged in, click on the Admin tab and then click on Manage Users.

Alternatively, click on the gear icon near the top right-hand corner. Select Manage Users.

The Manage Users page lets you set custom permission levels for your users. You can select the areas of the site you would like them to have access to. If you have a Marketing employee, you may want to give them the Newsletter, Gallery, Content, and Events permissions for example.
User Permission Table
An overview of the Permissions available on the Manage Users dashboard.
Permission: | Role: |
UserAdmin | Manage existing users or create new users |
LeadsAdmin | Full access to the Leads section (View Leads, Manage Leads) |
Finance | Access to the Finance App Tool |
Craigslist / Ebay | Post units to Craigslist / eBay respectively |
Auction123 | Access to Auction123 sign in |
SiteEditAdmin | Access to the Inline Editor Tool |
SiteEdit | The same access as SiteEditAdmin but without the ability to create pages |
Announcements | Access to see the Admin Panel dashboard notices |
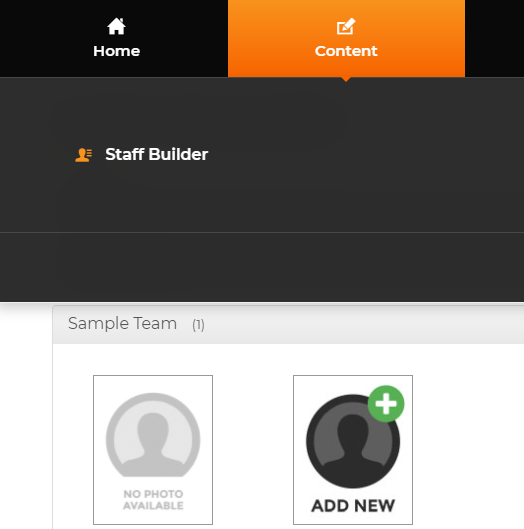
Content | Access to Staff Builder |
Snippet | Access to the Content Snippet Editor |
Events | Access to the Event Manager |
Inventory | Access to make changes and view the active inventory from both the Inventory Manager and Grid View |
ReadOnlyInventory | Access to view active inventory |
Survey | Access to the Survey Tool (testimonials) |
Slideshow | Access to the Slideshow Tool |
Stats | Access to Stats Tool |
Newsletter | Access to Newsletter Tool |
Ecommerce | Access to the Ecommerce Tools |
Blog | Access to the Blog Tool |
LeadTrak | Access to "hot leads" from returning customers |
Leads | Access to View Leads assigned to them |
RevokeLeads | Access to Revoke Leads in the Manage Leads Section |
AssignLeads | Access to Assign Leads in the Manage Leads |
UnAssignLeads | Access to Un-assign Leads in Manage Leads |
ReceiveLeads | Access to receive leads in Manage Leads |
Permission Info
UserAdmin: This will provide you access to the user management dashboard. Users with UserAdmin can create new users. They can reset the password for any users, delete users, or grant or revoke permissions.

LeadsAdmin: This will provide you access to the Manage Leads or View leads panel (a websites can have either or both - they both allow users to view and manage leads with View Leads being the most recent dashboard). LeadsAdmin user will automatically inherit the ReceiveLeads, RevokeLeads, Leads, UnAssignLeads, and AssignLeads permissions. You can keep them or remove them individually to suit the user’s role. See below for more information on the inherited permissions.

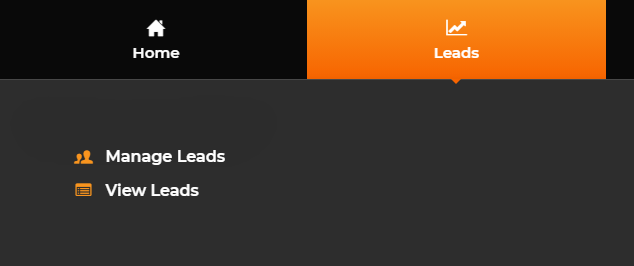
Finance: This will provide you with access to the Finance app tool under the Leads tab.

Ebay: This will provide you the ability to post to Ebay. Support will need to set it up before the tool can be used.
Auction123: This will provide you access to Auction123 sign in link under the Tools bar. Support will need to set it up before the link can appear on the tab.

SiteEditAdmin: This will provide you access to the Inline Editor Tool. The tool will allow you to edit any editable area on the site. Access the tool by navigating to the Content tab, then the Site Editing link.
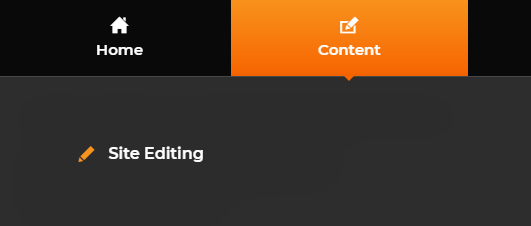
Clicking on the Begin Editing button will open the homepage on a new window with the Inline Editor tool enabled.

SiteEdit: This is inherited when SiteEditAdmin is selected. It will also give you access to the Inline Editor tool with the exception of creating new pages (SiteEditAdmin permission required).
Announcements: This will provide you access to see the Admin Panel homepage which features the News section, Quick Stats section, and dashboard banners.
Content: This will provide you access to the Staff Builder under the Content tab.
Snippet: This will provide you access to the Content Snippet Editor under the Content tab.
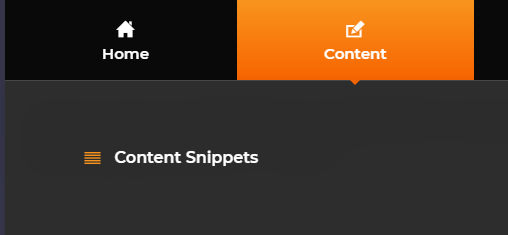
The user will be able to see a dropdown list of editable content there. Normally you will have access to a snippet here called Page: Landing, Content1 (pictured below) that allows you to change the About Us statement on your home page. Additional snippets may be listed here depending on what has been enabled or set up on your site.

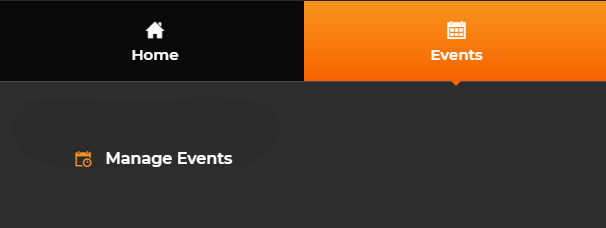
Events: This will provide you access to the Events Manager under the Events tab. The Events Manager will allow you to create an event on any date and display added events for site visitors on a Calendar page. If a site is missing the calendar, or if you need to add additional calendars, please contact the Technical Support Department.
Inventory: This will provide you with access to make changes and view the active inventory from both the inventory manager and grid view
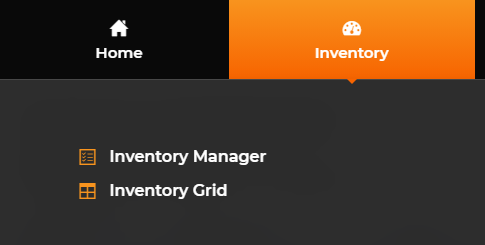
ReadOnlyInventory: This will allow you to view the website’s active inventory on the inventory manager.
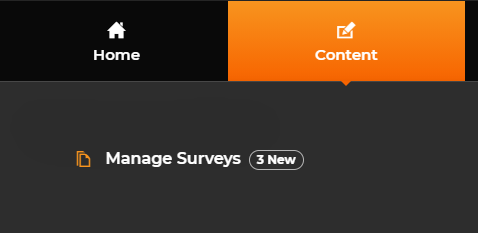
Survey: This will provide you with access to the Manage Surveys tool under the Content tab. The tool must first be enabled by the Technical Support department.
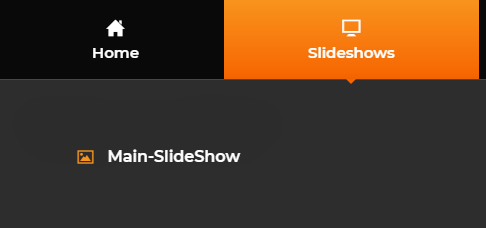
Slideshow: This will provide you with access to the Slideshows tab in the Admin Panel and will allow you to upload or remove slides, change slide order and add in titles, links or starting and ending date.
Stats: This will add the Web Stats link under the Digital Marketing tab. This adds the link to the sign in page, but doesn’t get you into the Web Stats platform. The Web Stats tool is a separate platform from the Admin Panel and requires different credentials for logging in. Only the Technical Support department can create a user on the Web Stats tool.
If the site does not have a Web Stats account setup, please reach out to Technical Support.

Newsletter: This will add the Newsletter link under the Digital Marketing tab. Access to this the tab will not provide you access to the Newsletter tool. The Newsletter tool is a separate platform from the Admin Panel and requires different credentials for logging in.
If the site does not have a newsletter account setup, please reach out to Technical Support.
Ecommerce: This will add a link to the Ecommerce Tool under the Tools tab.
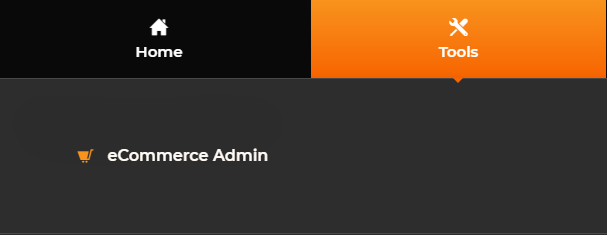
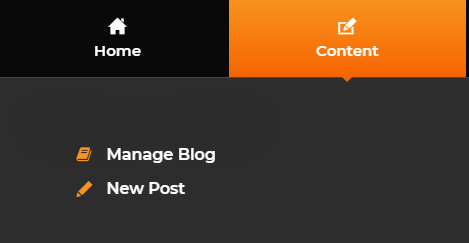
Blog: This will provide you with access to the Blog tools under the Content tab. You can either manage existing blogs or create a new blog post. This tool must first be enabled by Technical Support before it can be used.
LeadTrak: This will grant access to "hot leads" from returning customers. To sign up for this service, please reach out to your Account Manager for more information.
Leads: This will provide you access to the Manage Leads or View leads panel (a websites can have either of those two or both - they both allow users to view and manage leads).
RevokeLeads: This will allow you to Revoke Leads in the Manage Leads or View Leads pages. You will need the Leads permission to view the View leads section or ReceiveLeads permission to view the Manage Leads section.
AssignLeads: This will allow you to assign leads in the Manage Leads or View Leads pages. You will need the Leads permission to view the View leads section or ReceiveLeads permission to view the Manage leads section.
UnAssignLeads: This will allow you to unassign Leads in the Manage leads or View leads pages. You will need the Leads permission to view the View leads section or ReceiveLeads permission to view the Manage leads section.
ReceiveLeads: This will allow you to Receive Leads in the Manage leads section.
Creating New Users
You will need to have the UserAdmin permission to create a new user.
- On the User Management dashboard, click on the Create New User + button.

- A popup should appear where you can fill in the new user’s information.
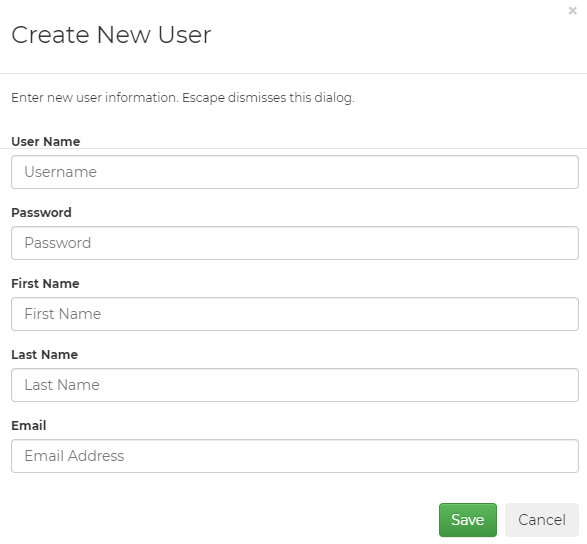
- Create the username and password. https://www.dinopass.com/ is good for generating relatively secure, easy to remember passwords. First Name, Last name, and Email fields are not required.
- Save the new user by clicking the Save button at the bottom of the popup.
- On the new user’s row, click on the Permissions dropdown. Click on the permissions that suit their role. See Permissions.

- Save the changes after you have given the new user their permissions. The page will refresh.
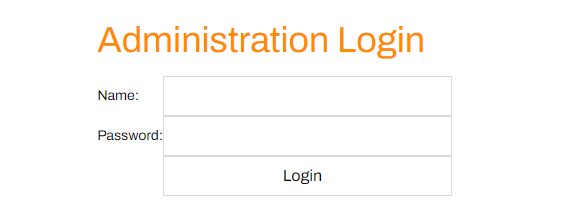
- Provide the new user their credentials. The admin log on screen will ask for a username and password.
Deleting Users
You will need to have the UserAdmin permission to delete a user.
- On the User Management Dashboard, find the user you wish to delete.
- Press the Delete button on the right hand-side.
- You will be asked to confirm is you wish to delete the user; click ok and the page will refresh to reflect the change.
- The user should now have been removed from the site.
Updating Passwords
You will need to have the UserAdmin permission to update a user’s password.
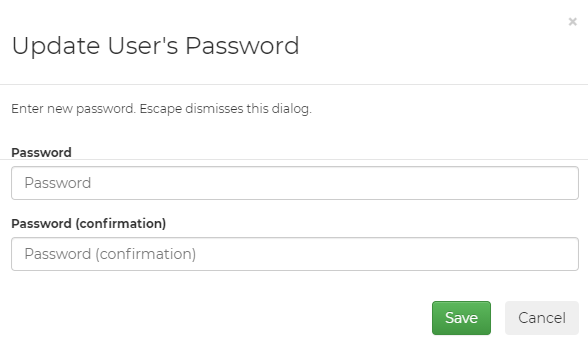
- On the User Management Dashboard, find the user you wish to update the password for.
- A popup will display with a password field and a confirm password field. Fill in the fields with the new password.
- Save the new password and provide the user with their new password.
If you have any questions or concerns, you can reach out to the Technical Support department.
